Still nothing major to report, things are moving a bit in slow motion right now.
I started the door panel project at least a year ago and partially convinced myself, before I even started, that I wouldn’t be able to do the map pockets in one piece, it just wasn’t going to happen. The stretch was going to be too much for the grain of the fabric to look right and too much for even the strongest adhesives to hold up over time. I continued to put it on the back burner, not having a solid plan on how to tackle it in one piece.
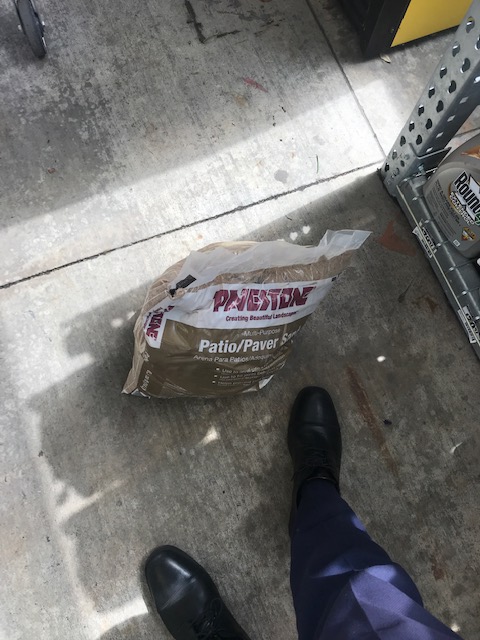
Having gained some confidence after reupholstering my rear door panels I decided to give the fronts a shot with some high-temp contact cement, a heat gun, and some patience. I started by picking up a bag of sand that I could pour into smaller bags and use as “moldable” weights to fit down into the pockets and hold the fabric against the fiberboard overnight.
Using the same method as I did on the rear door panels, I lathered both the door panel and the back of the fabric in multiple coats of the contact cement. I heated the fabric up and started working the fabric in little by little, starting from below the smaller door pocket to establish my baseline of where the fabric should lay.
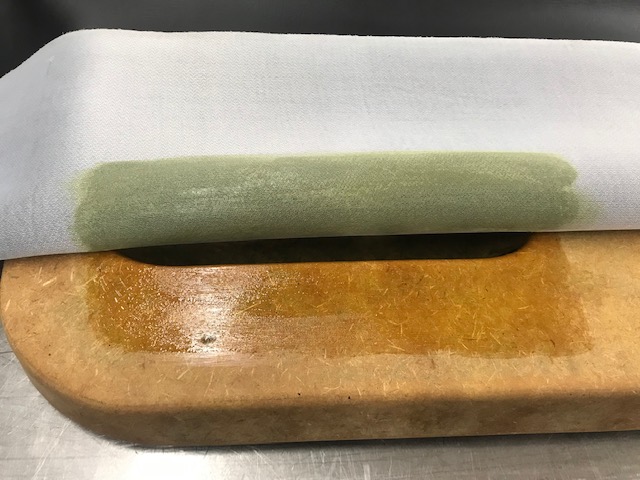
And the final product after sitting overnight.

This might work for some people, but it doesn’t work for me. Between the excessive heat trying to make the fabric more malleable and working it down little by little, it created these wrinkles in the material. Having confirmed my doubts of being able to rectify my door panels in a proper one-piece format that could pass as OEM to most, I must say I’m pretty bummed out. I spent about two hours on just this one pocket, I’m not sure there is another method that I could have tried to achieve a different result.
However I am not ready to give up on this project. I’ve made some templates of the door panel with separate pieces of fabric that will be sewn into the pockets using a black stitching, hopefully predominantly hidden along the edges of the pocket itself, which will eliminate a lot of the tension in the fabric leading to failure. I’ve turned them over to our local upholsterer to run through his sewing machine and will update when I get them back and get started on them. I’ve got a positive outlook that it may be a tolerable solution that lasts long term.
Having some time at home due to the quarantine I got a couple of little tasks done while still being a bit lazy. First up was to finish up dyeing the rear shelf, wire in the third brake light, and then install the rear shelf. Fortunately the proceeding rounds of fabric dye hid the matted area so I’m happy with it.

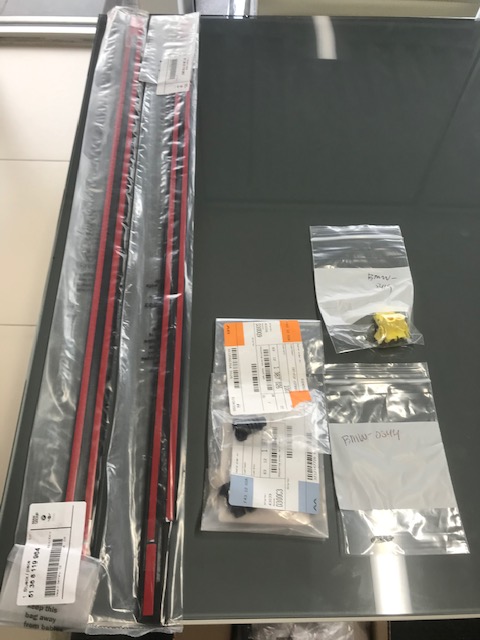
I’ve had the rear vent window lower seals on my list for quite a while, along with the plan to repair my ambient temperature sensor and replace the headlight positioning knobs that have long cracked and looked like ass.


As usual it was filthy in there and the original seal crumbled into a hundred pieces upon removal. Now I’ve got to touch up the little exposed part of metal on that metal trim piece as well.
I replaced the illumination bulb for the headlight switch. Originally I got a generic bulb from the local store but it turns out even 5 watts is too much for this and it melted the inner plastic, forcing me to find another switch assembly to rob the plastic from. Turns out the BMW bulb is a very specific .36 watts. $8 for one tiny bulb!

I’ve had the idea of labeling the fog light switch to be used for a manual override of my SPAL radiator fan. I had some spare stickers at the shop so I threw it together to see how it looked.

Unfortunately it’s just slightly too big, but I don’t think I hate the text being there.

I’ve had a very slight cut/miss between 6,000-7,000 RPMs but no CEL’s or otherwise warnings. Decided to pull the plugs, check condition of them and the coil boots, and re-torque. About two years ago I had a strange misfire at idle that came out of nowhere and it turned out to be one or two of my spark plugs had loosened over time. Luckily all looked well and after re-torque I didn’t notice any missing up top, maybe one was just slightly loose.

I was content with the overall performance of the aftermarket head unit I had; it was simple, it streamed music via Bluetooth, and I could adjust the color from 20,000 options to match the factory BMW amber, and I even went so far as to paint the volume knob black and sand down the gloss black portions to a matte finish, but at the end of the day it still looked out of place. So I grabbed a C43 radio that was in great shape and ordered a Bluetooth retrofit.


This kit provides the ability to stream the music wirelessly, which was my main requirement. It also has the ability to connect via an AUX port or USB cable. I plan to install the black box underneath the center arm rest trim and run the USB port up underneath there to connect my phone and charge it when need be. It should be well hidden when I’m all wrapped up with it. With everything wired up and re-installed, I’m happy with the outcome. A much better look with the same features I had before, I should have done this the first time.

I picked up a pair of amber corners, but I can’t decide which I like better. I have clear sides and tails as well, so if I did amber I would have to do the rest as well. Maybe I’m just bored.

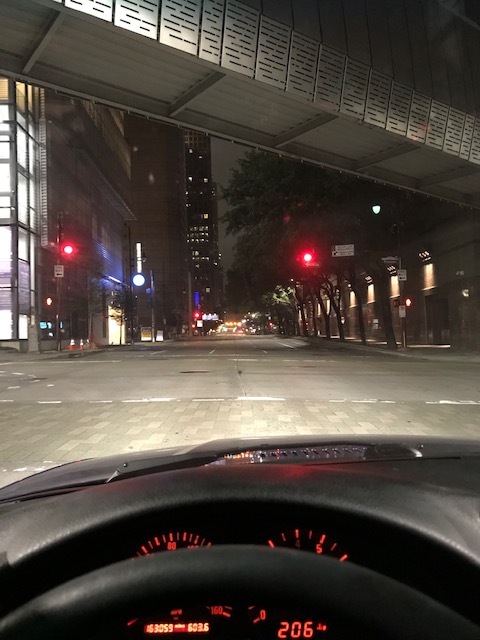
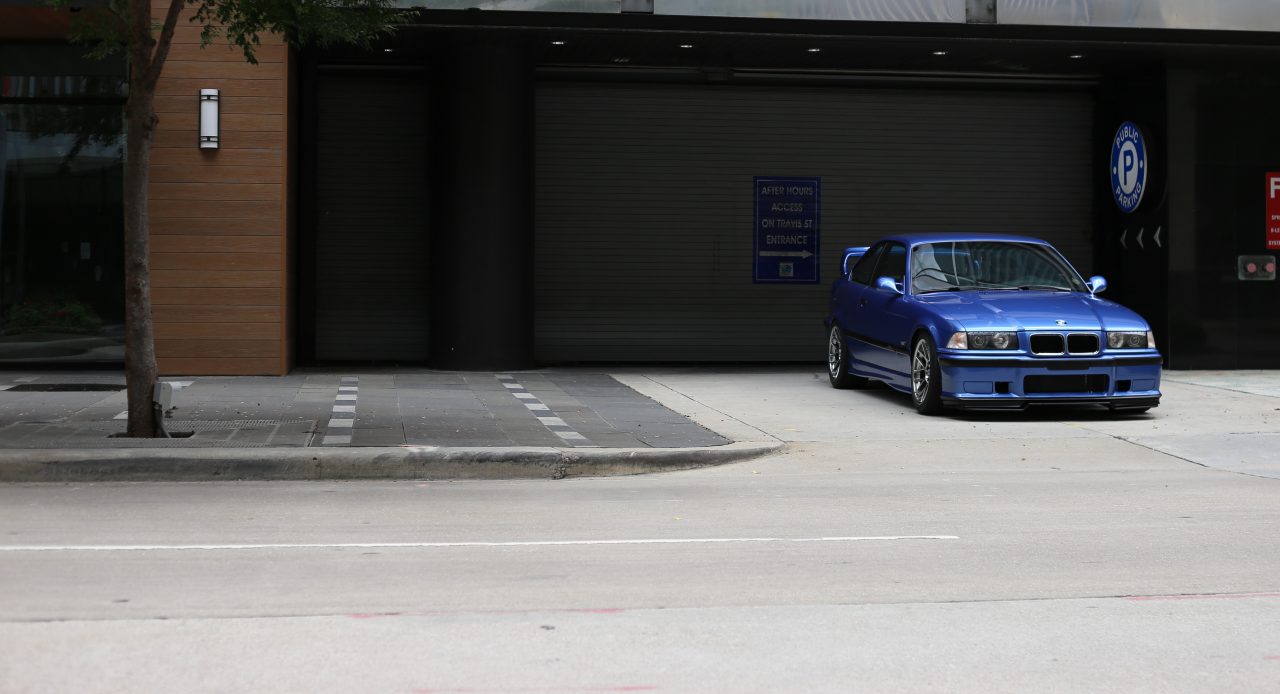
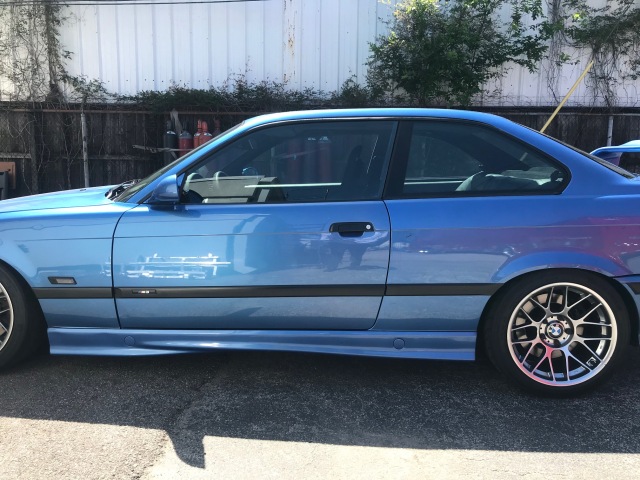
I took old girl to the park the other day for some isolation and social distancing but outside the four walls of my house.

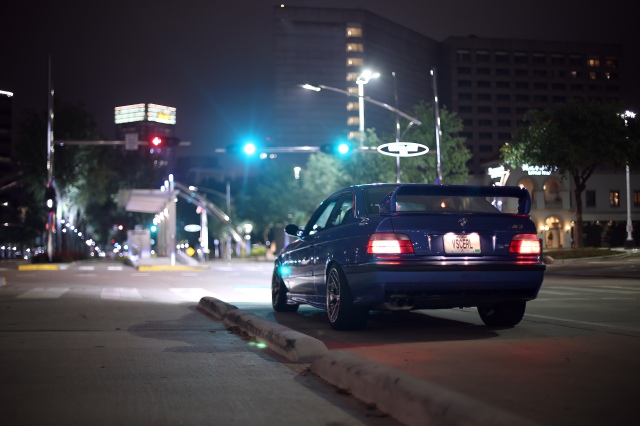
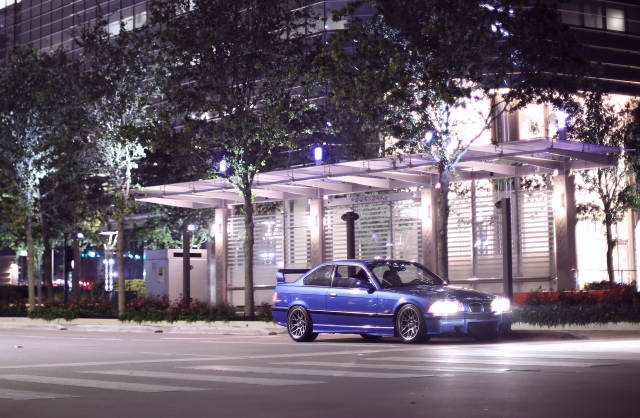
And lastly, taking full advantage of the completely desolate roads which is an extreme rarity here. A 1:00 AM blast around our local highways and downtown, it was very peaceful to rip around without anyone else around. As much as I miss being able to socialize and eat dinner in a restaurant, I wouldn’t mind the evenings staying like this for a bit.